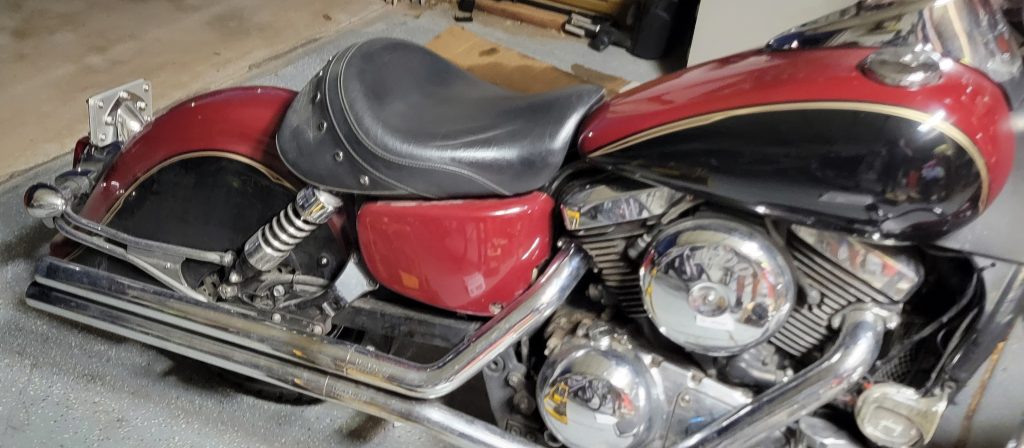
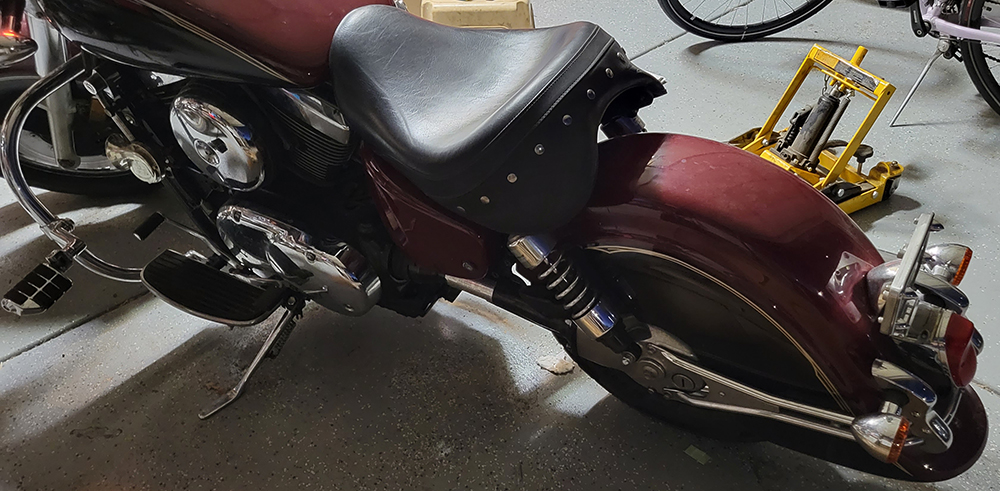
I was able to take my motorcycle into D&D Discount Motorcycles on Saturday. It was raining when I woke up and was hoping it was going to clear up. It cleared up for my trip there. They looked it over and had to remove some parts to take a deeper look. While they were doing that I was looking at the used motorcycles they had for sale there. They had a 2016 Indian Roadmaster and a 2015 Victory that were both priced well (and later I found out they were taking reasonable offers as well since they wanted to get them sold). After about an hour they told me that it was the propeller shaft (drive shaft) that was making the noise. They could do the work for about $1100, and I knew the parts were about $700 of that. I declined since I was 99% sure it was a job I could do on my own. So, I rode the bike home, but this time in pouring rain (oh yeah!).
Once I was home I ordered parts since the shaft takes at least a week to get into town, along with some gaskets that have to be replaced when you do the job.
Later that day I had the time to start the tear down. This involves a lot of steps, and I decided to photograph the steps to post here, and for me when I have to put it all back together.
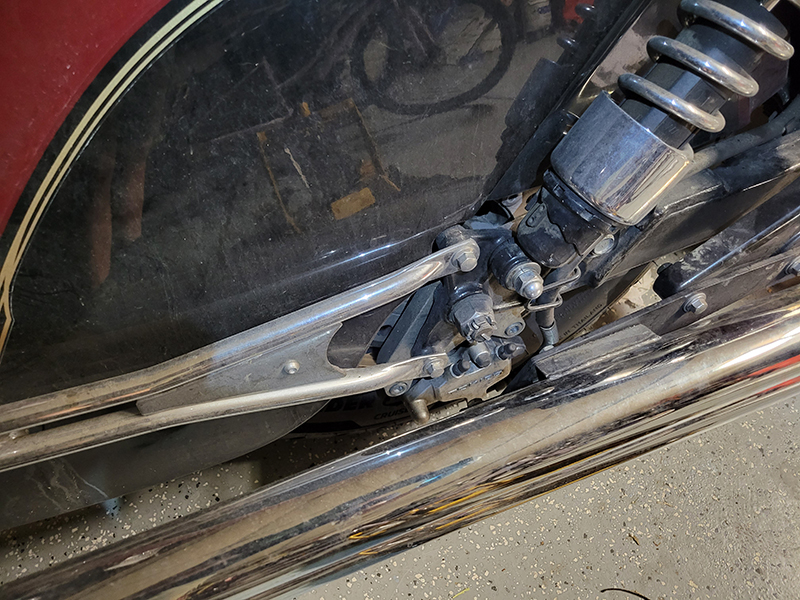
The first thing was taking the rear fender off. This is a fairly easy thing to do. There are a few bolts and you need to unclip the wiring harness that runs the turn signals, tail light, and brake light. (I had already taken my saddle bags off about a week ago since I didn’t want a shop to have to deal with them). Then you take the bolts holding it onto the bike out: these 2 plus the 2 on the other side, and there are 2 other bolts higher up at slightly forward (I didn’t get pictures of those).
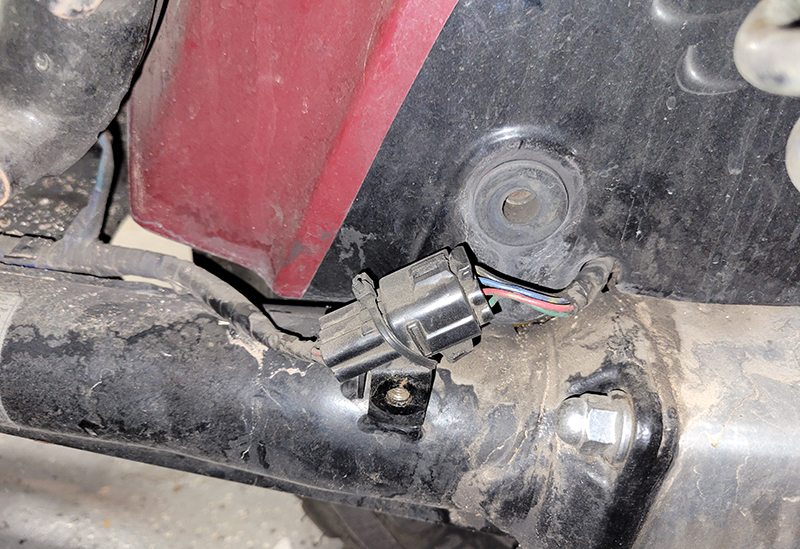
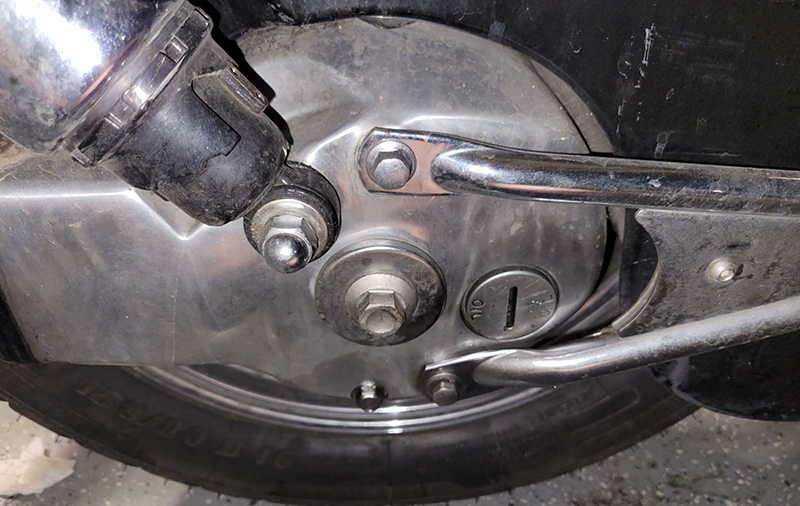
The next step was taking the left side cover off the engine. This involves taking the footrest and shifter models off as well.
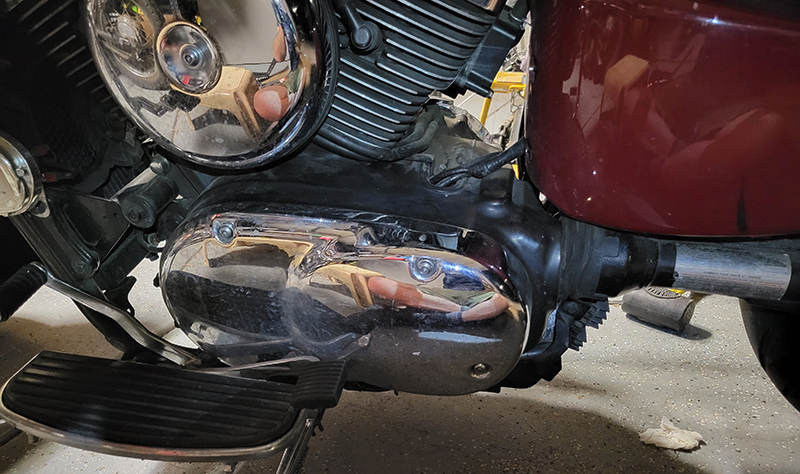
Here is what the bike looks like after those two steps.
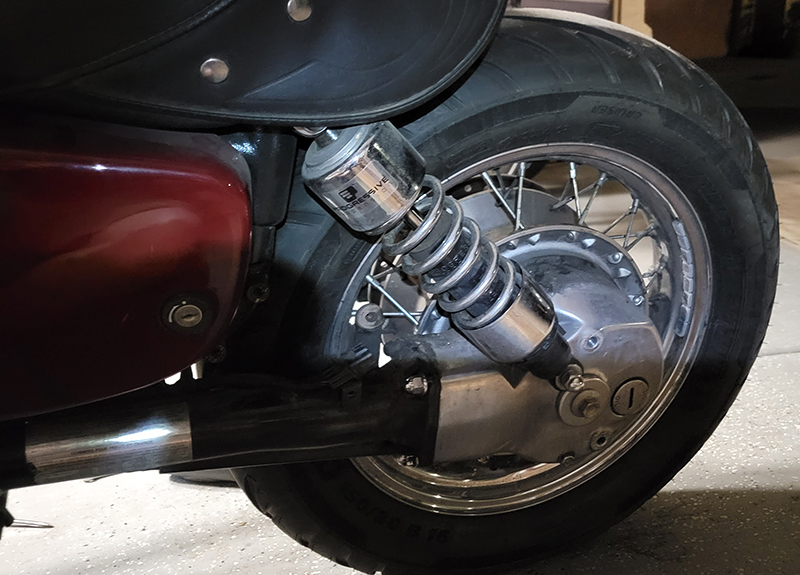
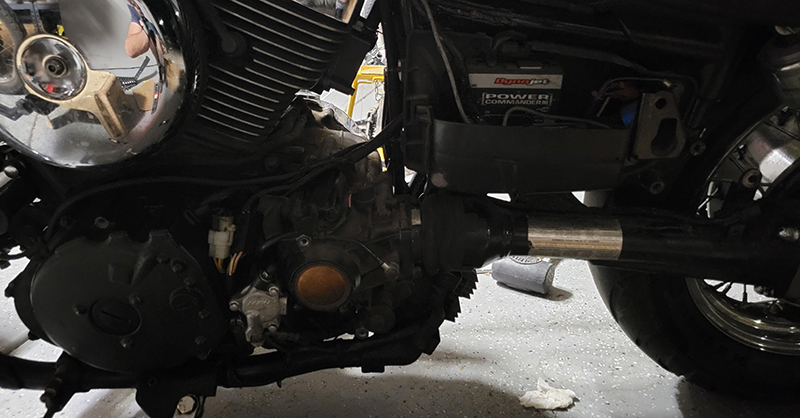
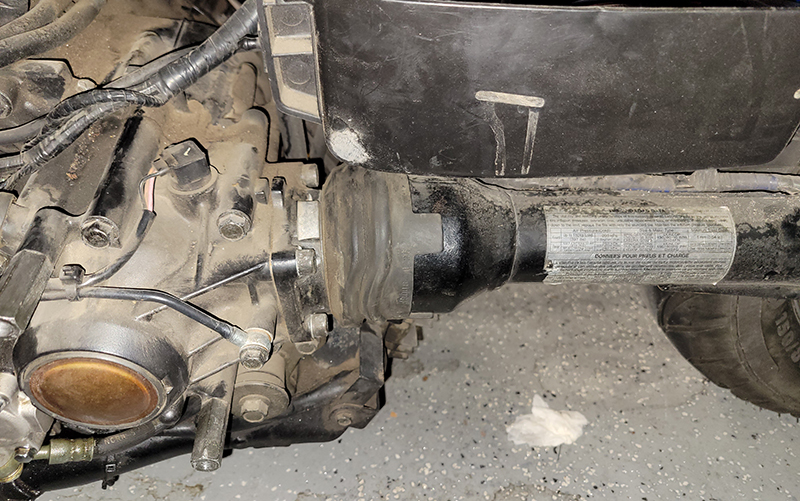
This is an image of the front end of the drive shaft and its rubber boot. It looks good at the moment.
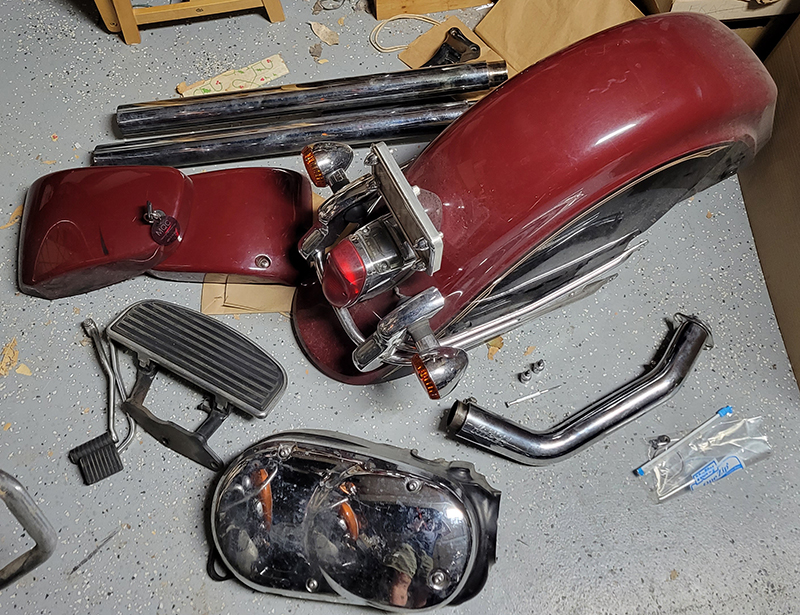
And here is the picture of everything that came off Saturday. I forgot to mention that I had to take the muffler off (partially) as well so I could gain access to the swing arm bolt.
Then on to Sunday. After going to church (twice, I rode my bike back to church to get my wife’s water bottle that she forgot there) and getting some calendar work done for the girls, I was able to get back to work on the bike again.
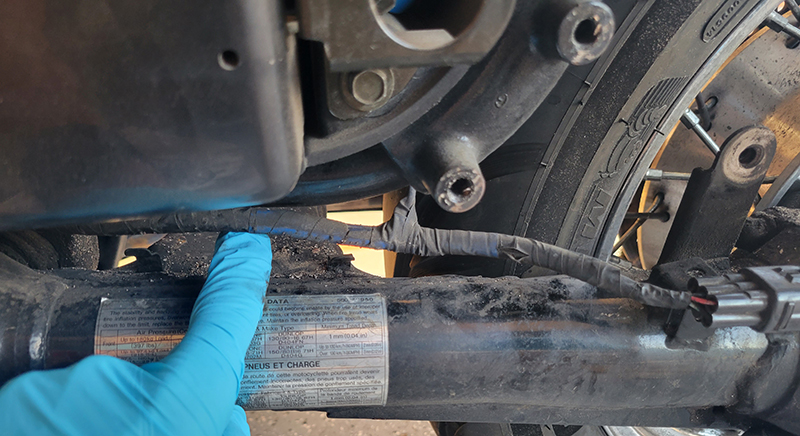
Today started with getting the bike up off the ground and then getting the back wheel off. Before that I unhooked the wiring harness that I unclipped yesterday from the swing arm itself this time so I could get the swing arm off eventually without that wiring being a problem.
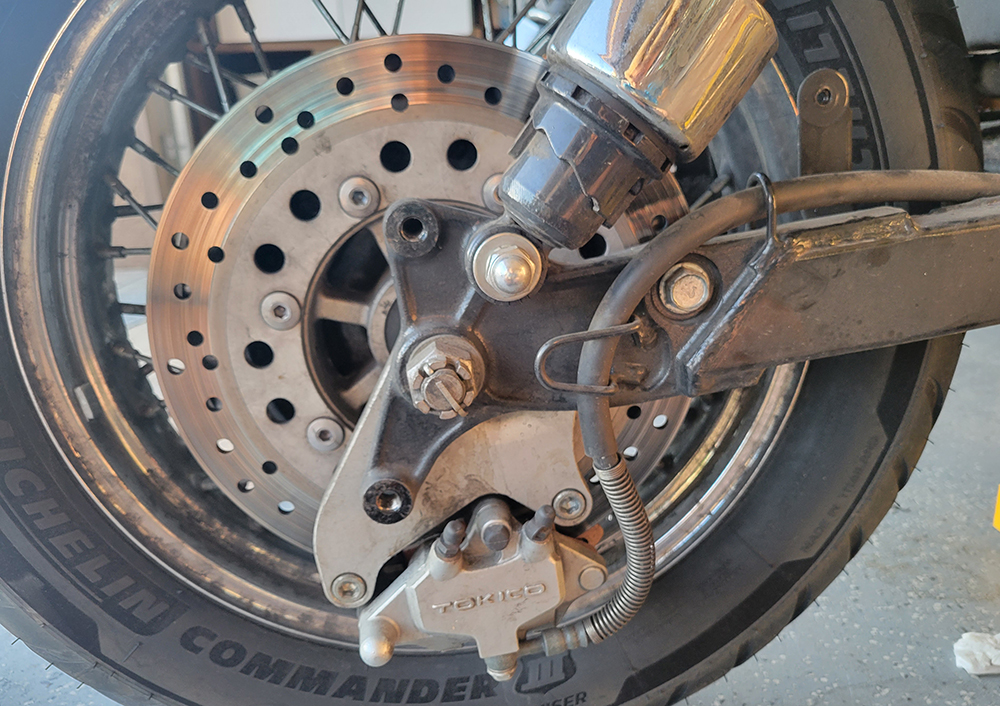
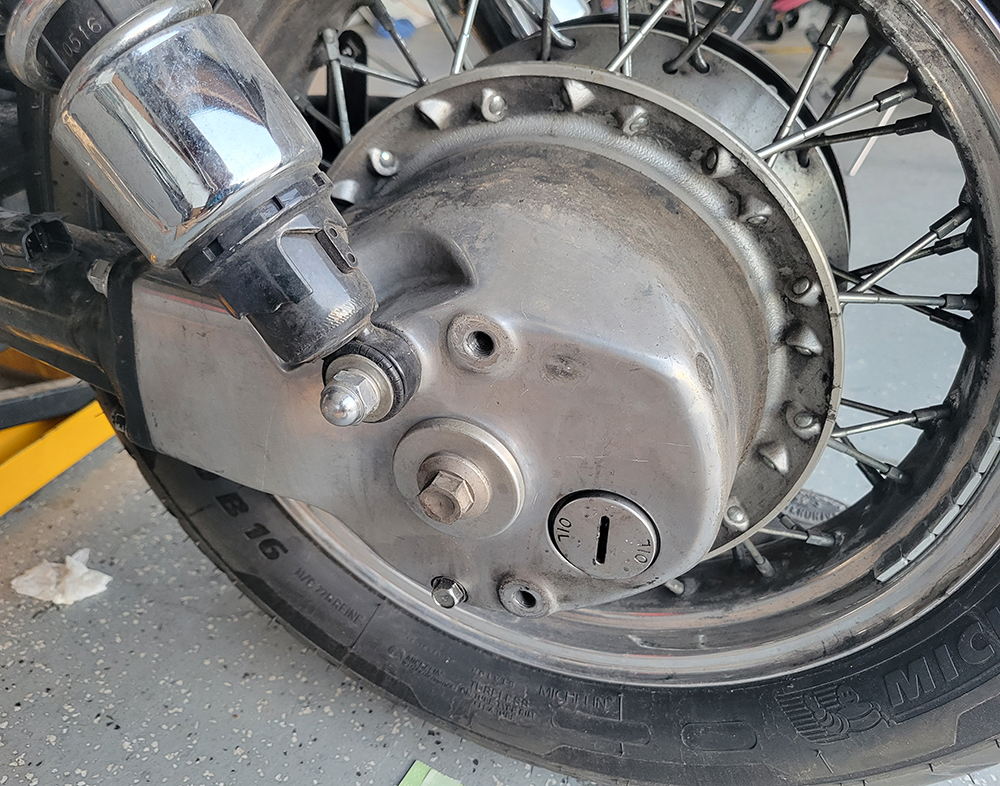
To get the rear tire off you have to take the brake caliper off, and the mounting bolt of the caliper. After that you take the cotter pin out that you can see in the middle of the picture here, and then you can unscrew the axle nut. The manual then says to slide the axle out. What it doesn’t tell you is to slide it out from the other side. I spent a few minutes trying to pull it out on this side, and then realized it had to come out the other side. It slid out very easily from that side, and the wheel dropped out. You have to make sure that you catch the brake caliper mount as you pull the axle out so it doesn’t hit the ground. Those are two things the service manual doesn’t mention when doing this part of the job.
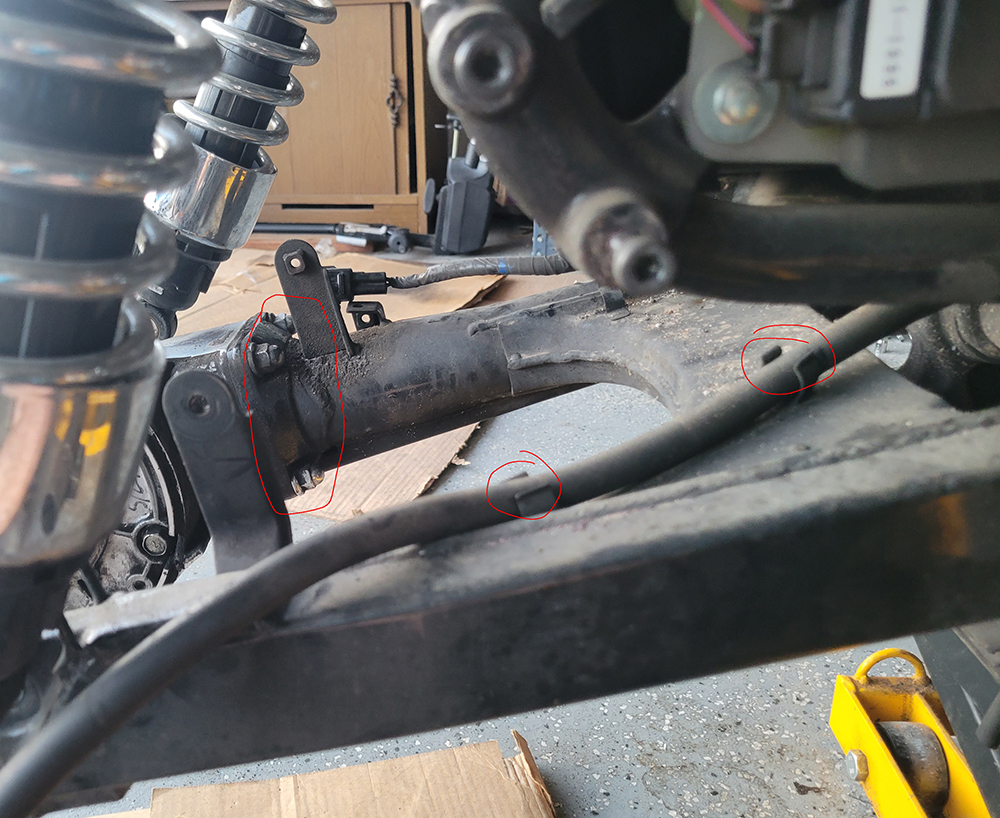
Then I had to get the brake caliper all moved around which involved unhooking the banjo from it and snaking the brake line through the loop on the swing arm. You have to unhook the brake line from these clips on the swing arm to get the swing arm off. I have to remember to bleed the rear brakes when I am done. Then I hooked it back together so the brake line wouldn’t leak while I worked on the rest of the bike, and set the caliper aside. You can see the next set of bolts in this picture as well. Those are the bolts that hold the final drive onto the swing arm. They came off easily.
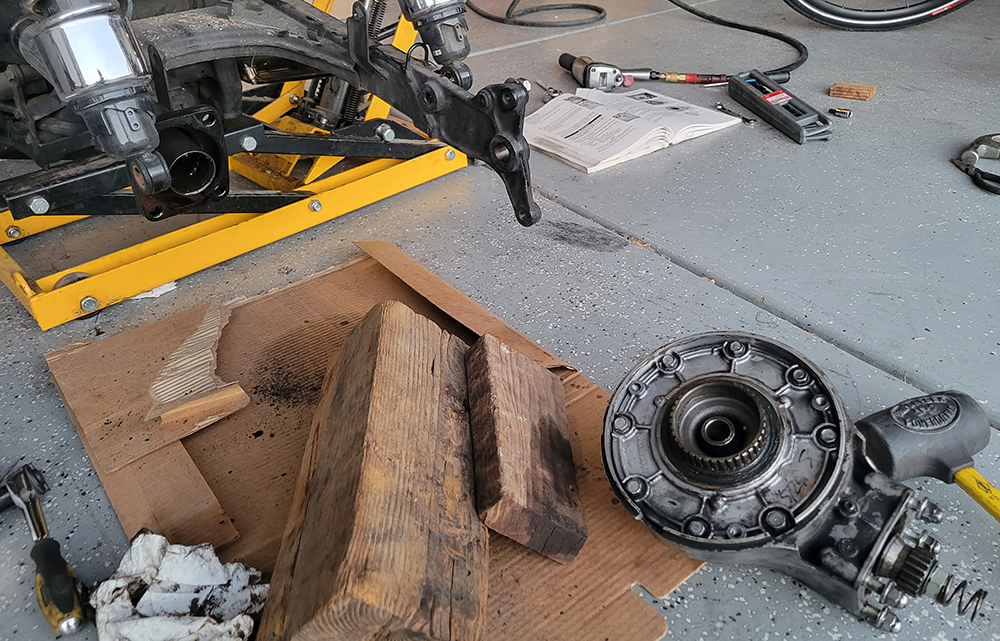
And then I lowered the final drive down, and here it is.
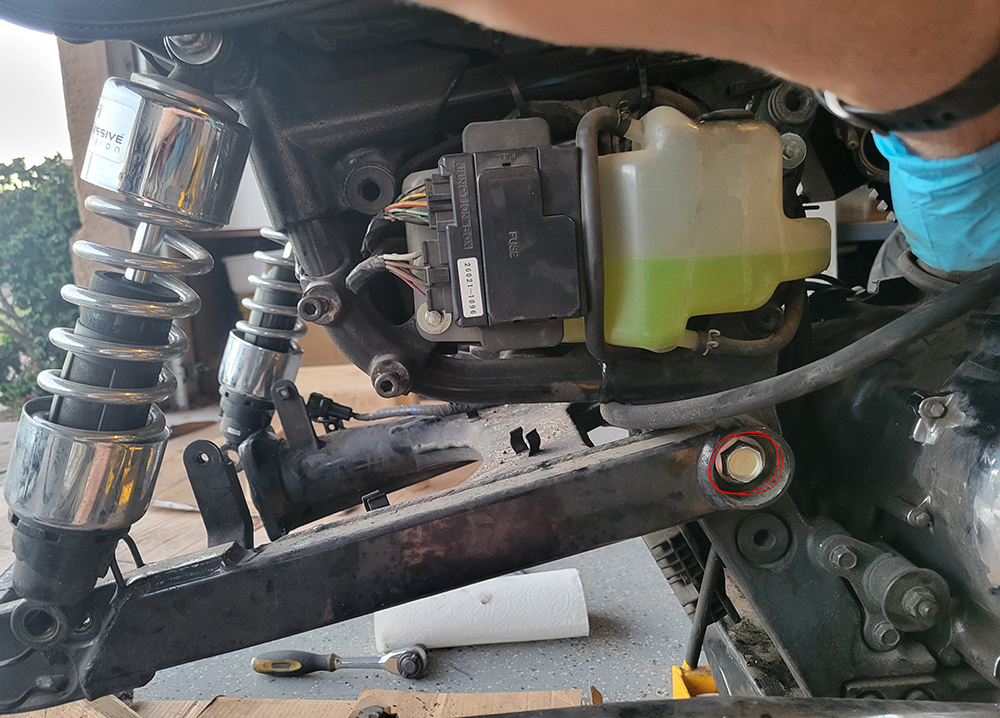
Now time for the swing arm. This is the swing arm bolt, and you have to turn and pull it at the same time to release the swing arm. I stuck some wood under the swing arm so it would drop too far to the ground when the bolt was pulled out, of course then I realized it couldn’t fall too far because the propeller shaft (drive shaft) was still inside the swing arm on the other side and that was still attached to the engine. But it was still a good idea to hold it up.
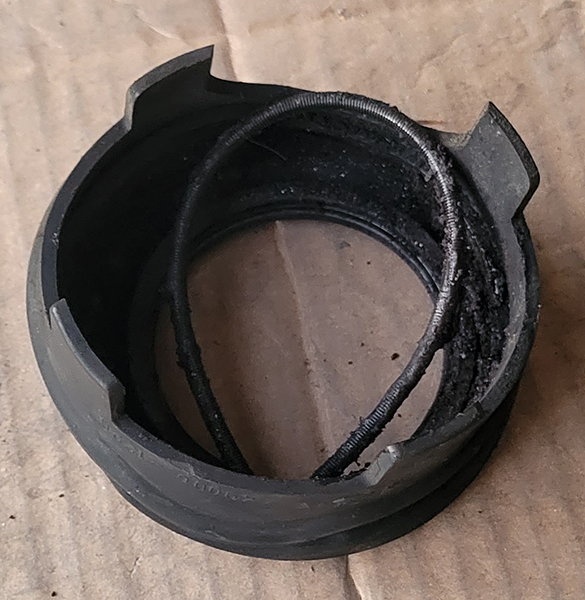
When I pulled the swing arm off the propeller shaft boot came off as well. You can see the small spring boot as well. I am going to replace both. The cost was minor and I figured it was good since it was all apart.
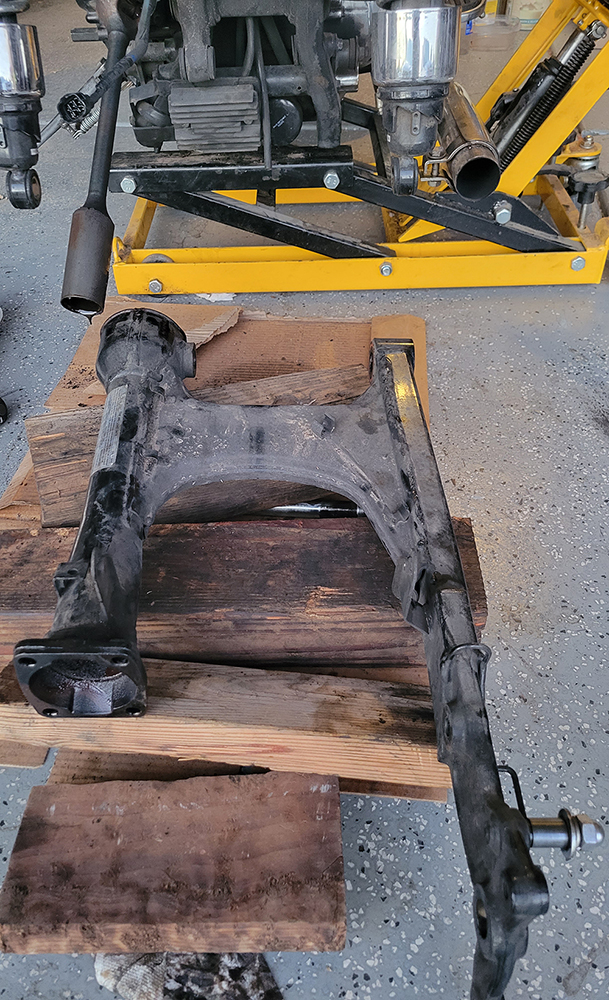
Here is the swing arm on the ground. And you can see the propeller shaft on the left still attached and dripping something out of it.
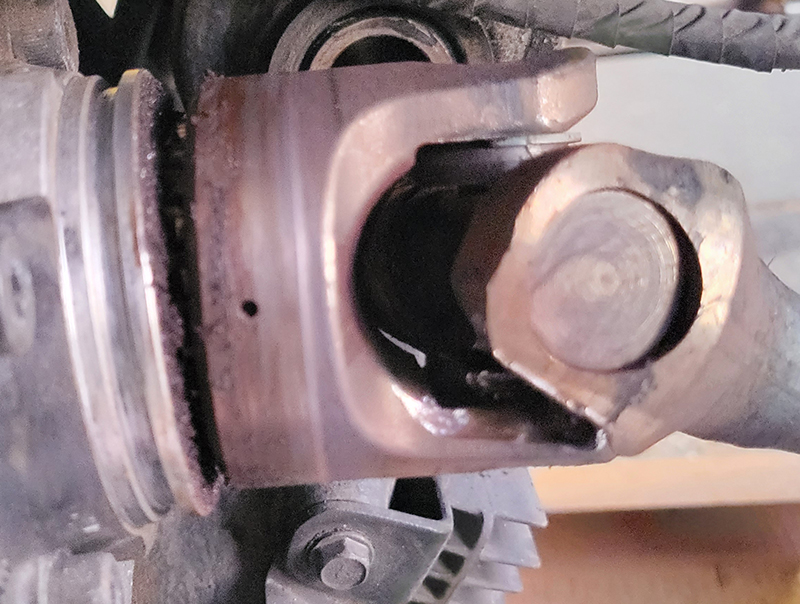
And this is what I saw when I went and looked at the drive shaft where it attaches to the engine. That doesn’t look good. The part on the right should be rounded, and you can see some metal debris on the left. That small hole is where you stick a small something (I used a small screwdriver) to press on the spring release pin to release the drive shaft from the engine gear. So I did that next.
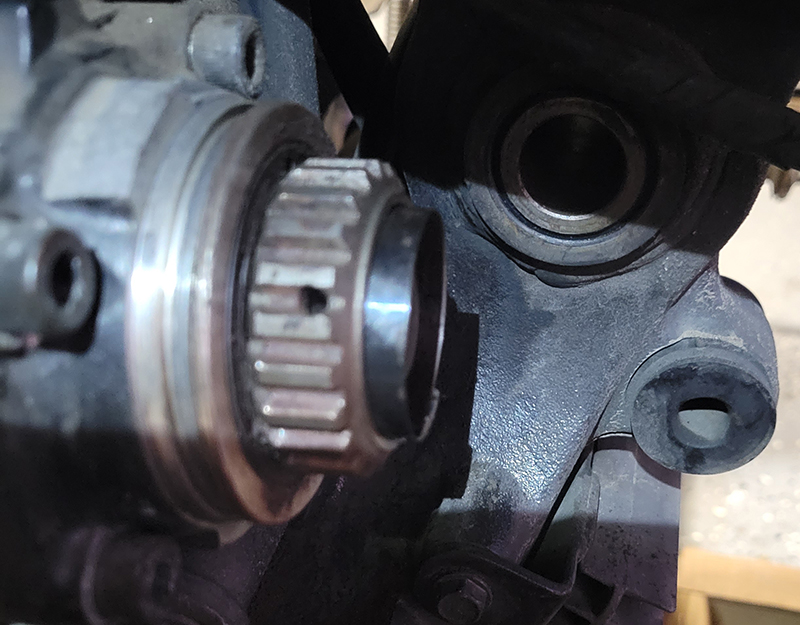
Easy to do, and then I inspected the spring in that area, and cleaned it up with some brake cleaner along with cleaning this entire area. In this picture you can also see the hole where the swingarm bolt passes through. That is a needle bearing. There is one on both sides, and I took it apart and regreased them both. Not sure it needed it, but since it was all apart I might as well.
Here is the drive shaft up close. And boy is it bad. I had chunks of metal in there that dropped out when I lowered it down. In the middle of this picture that entire area is supposed to be smooth and rounded, and clearly it isn’t and there are metal pieces missing. WOW! That is so bad. I am glad I decided to take care of this now. I am not sure how much longer it would have lasted before braking.
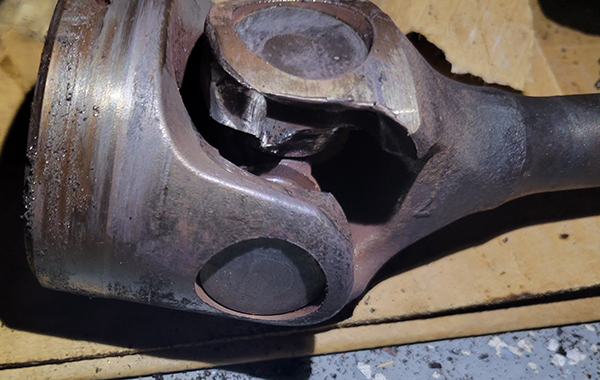
The manual says while inspecting the propeller shaft the motion should be smooth with no noise and no loose play. Here is a video of what happens when I move mine around:
And here is where the bike is currently at. Overall not all bad of a job. It took me 2-3 hours to get it all part, which is better than I was hoping for in all honesty. I hope it goes together just as easily. I just have to wait for parts now. I hope to be back up and running the weekend after Thanksgiving.
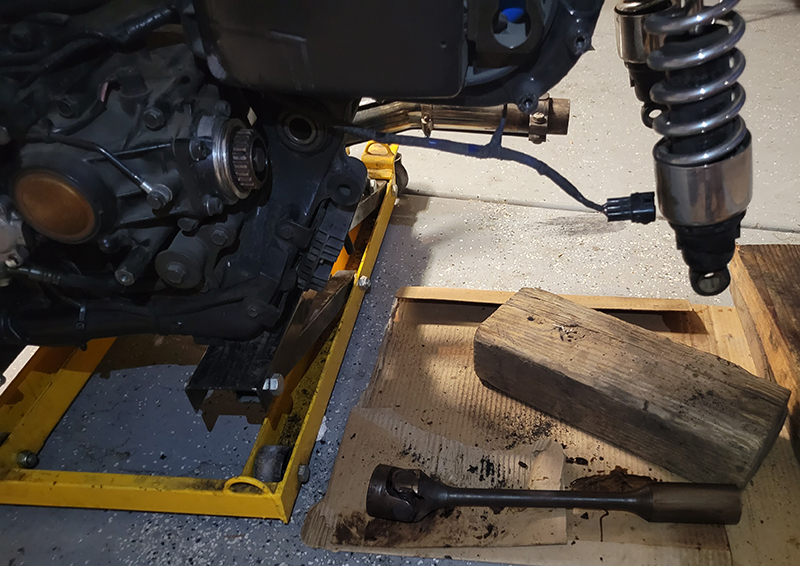
This issue is my best case scenario for what could be wrong. Yes it is still over $600 in parts, but it is something I can fix. I’ll let you see more and know more when I get it all back together.
Also – D&D mentioned that my steering bearing has a notch in it and should be replaced. I have noticed that in my steering I think ever since I got the bike and I always wondered what that was. I thought it was just part of the bike. But now I know and I will eventually take care of that as well (after I read the manual on how to do it).