It has a been a few weeks since I posted about how I am trying to 3D print a Canham Camera. I have been busy making prints. I talked with my dad about it more, and I got a file to try that he already had drawn up in the right format. I that printed first:
A rise rail:
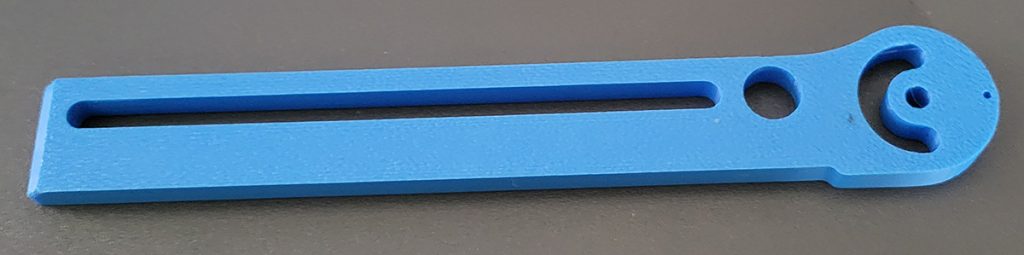
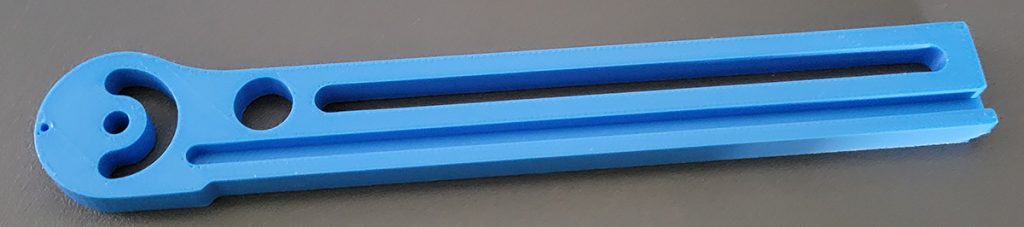
It was ok. There was no countersink in it, and so my dad was going to get that added, and I felt it was a little too flexible. I don’t think I had enough infill in it.
After that I got a couple more files that he worked on:
Back:
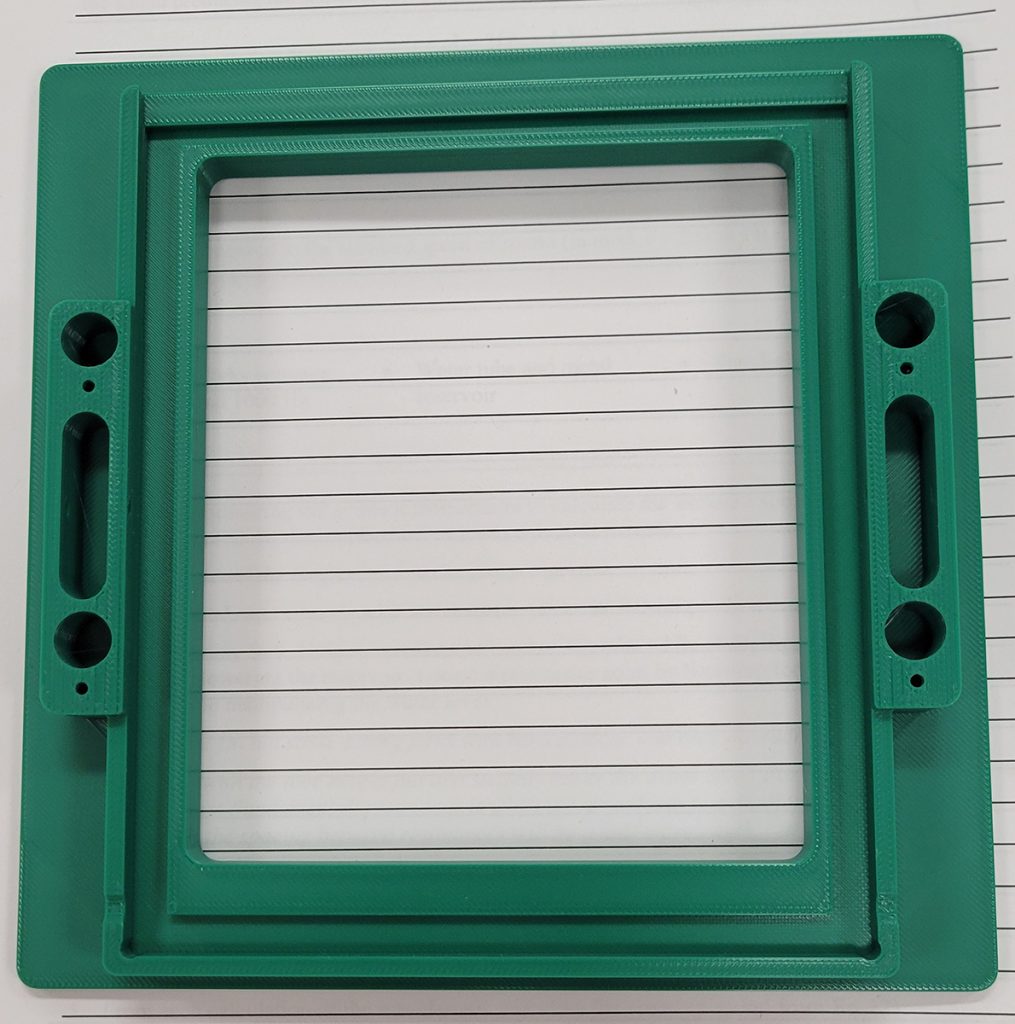

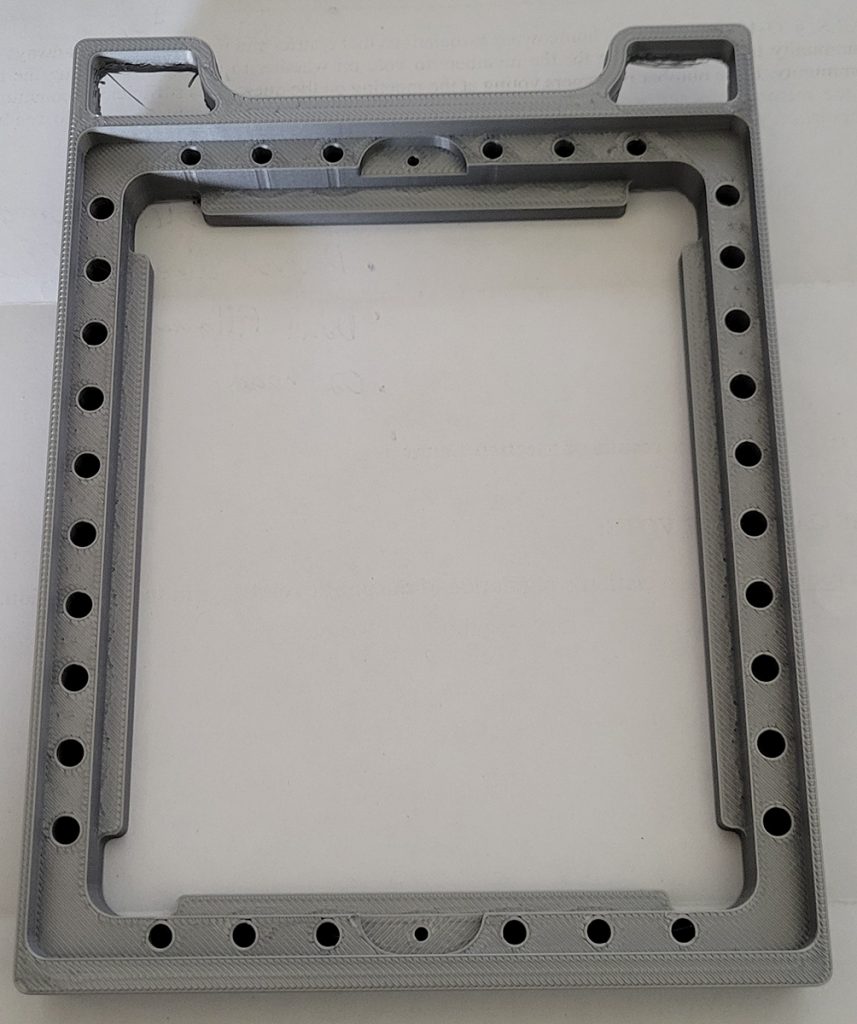
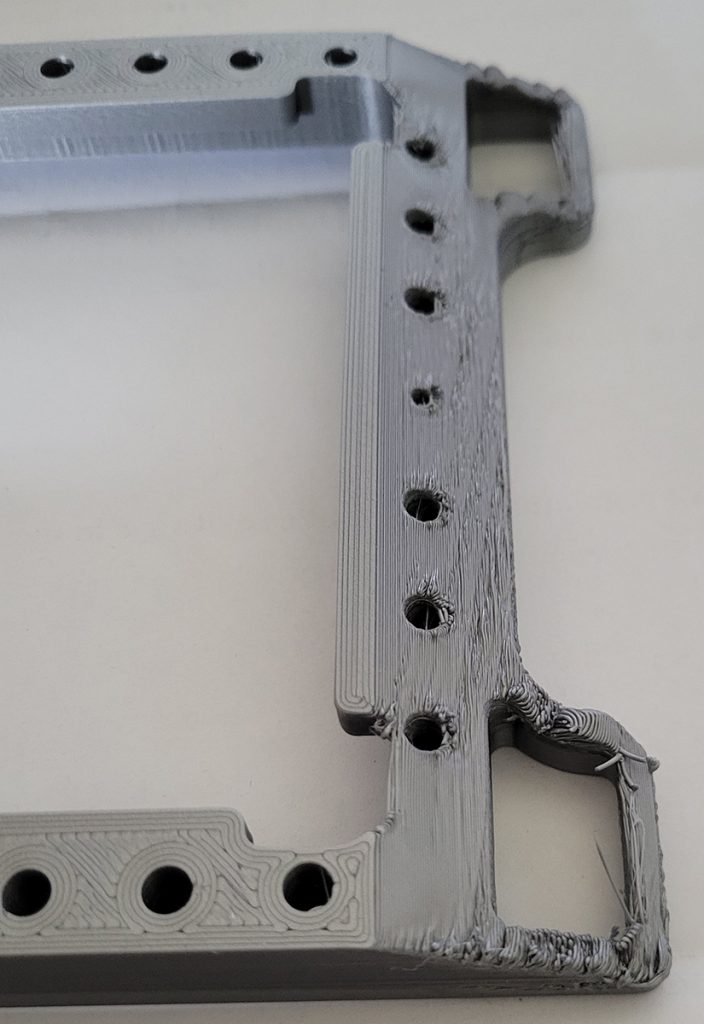
Glass frame:
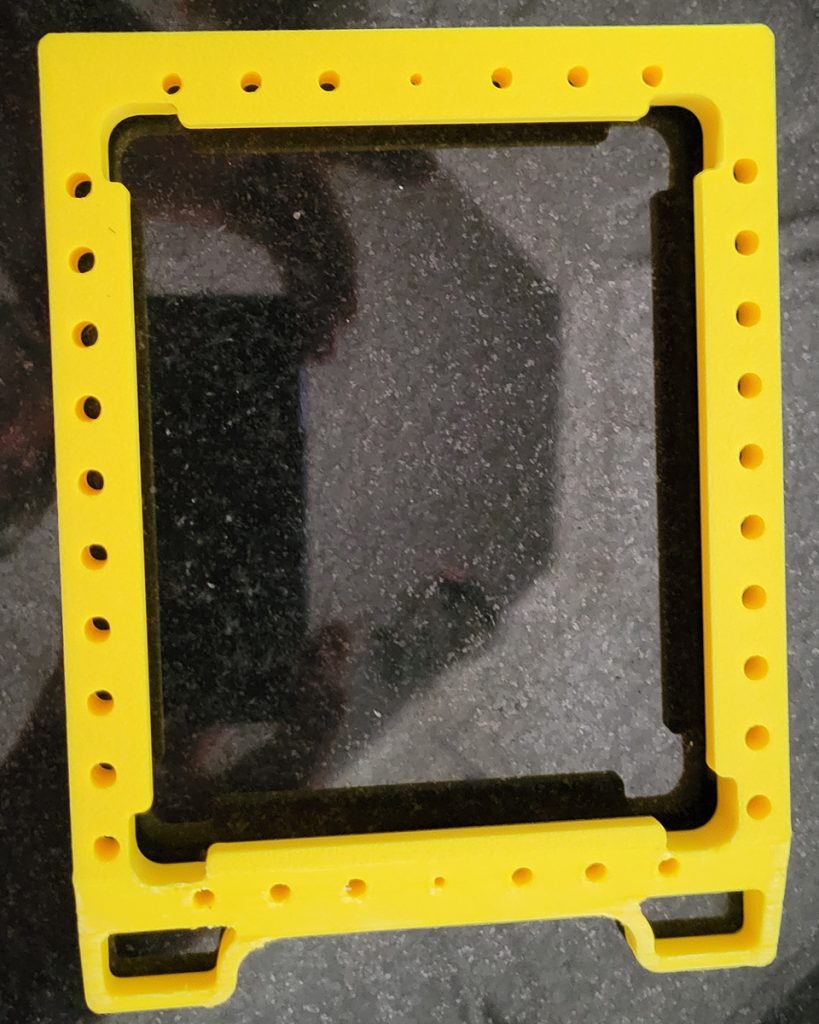
The back went into my camera really well, and I liked the way it printed overall. The glass frame though was not as nice. The angles section on the underside didn’t print well and the program added supports that came off poorly. It left things rough and I was unimpressed. But that is the point on prototyping isn’t it?
Just this last week I got a bunch of part files from my dad, and I got them printed out just recently.
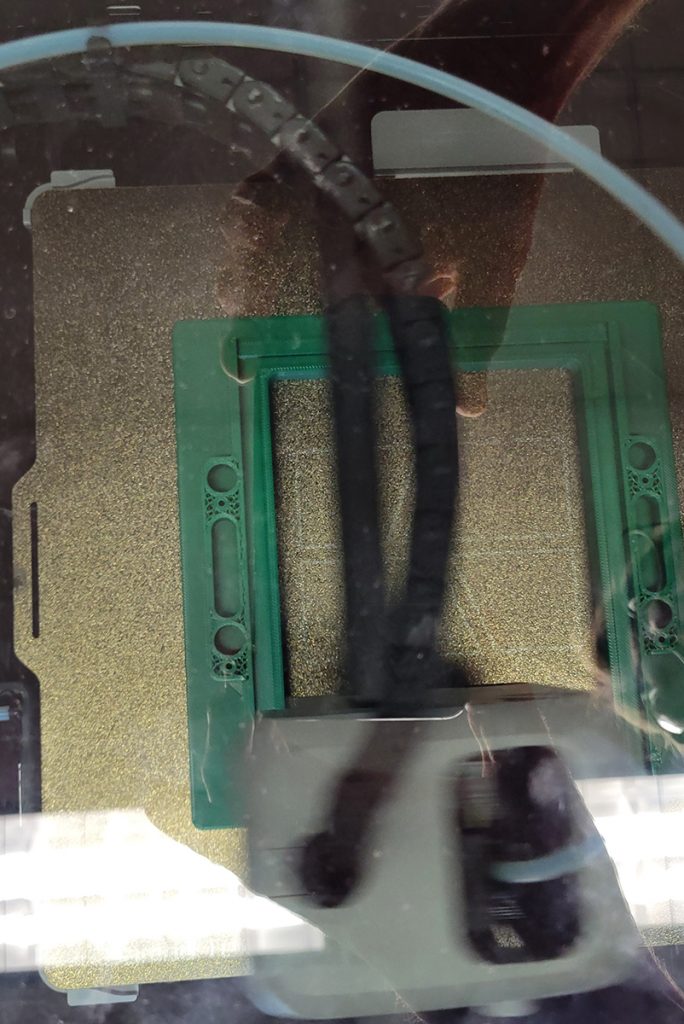
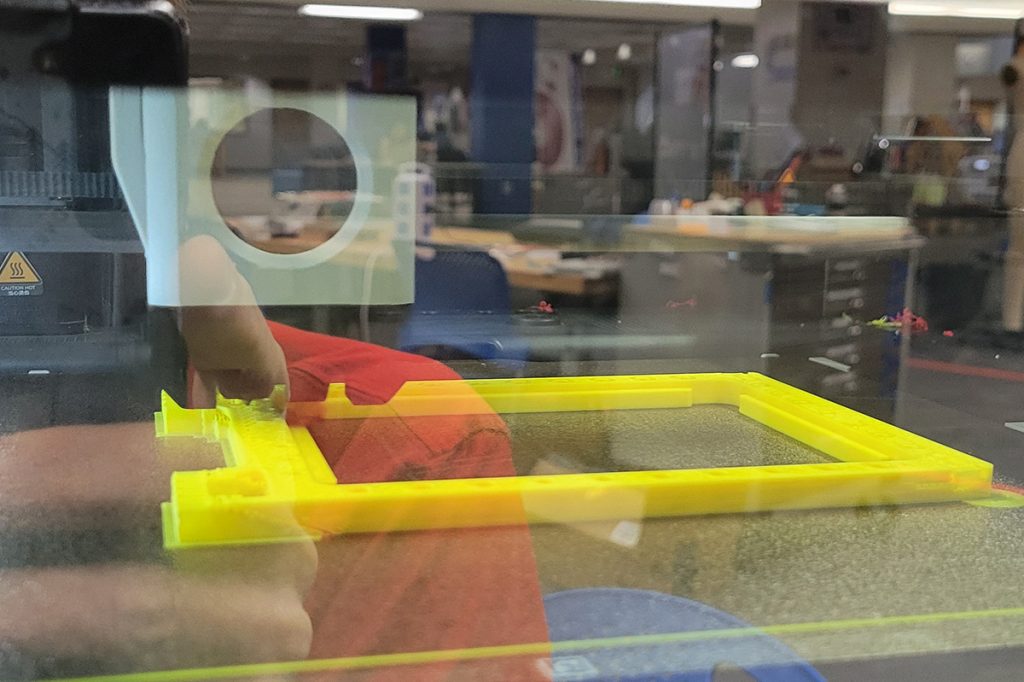
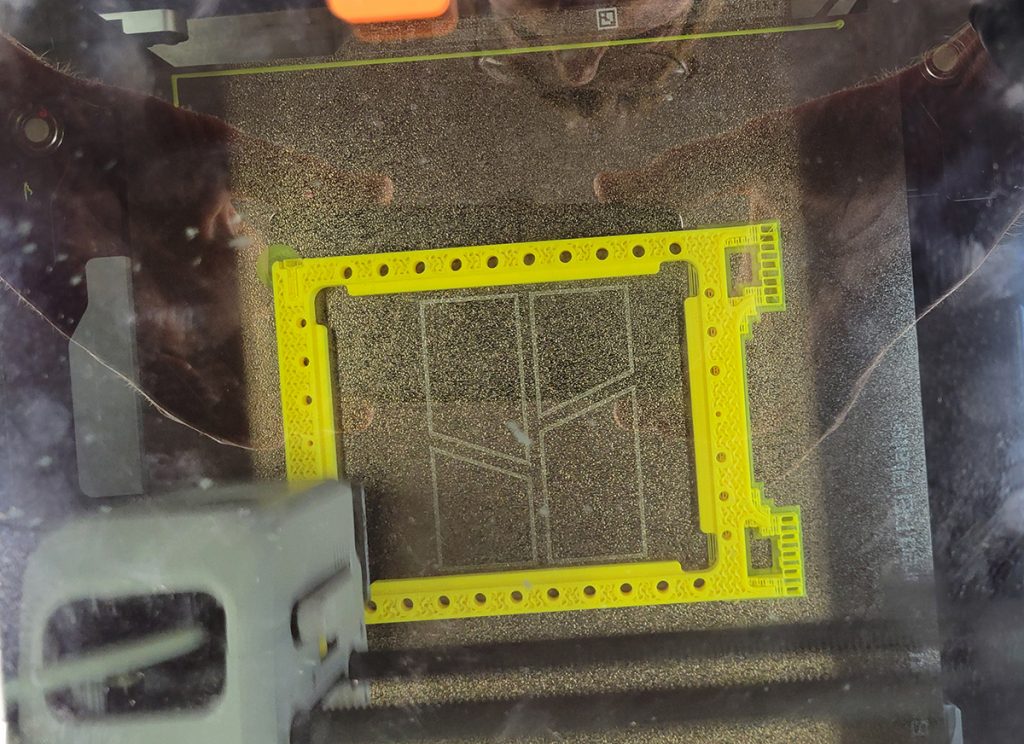
Here are in process pictures:
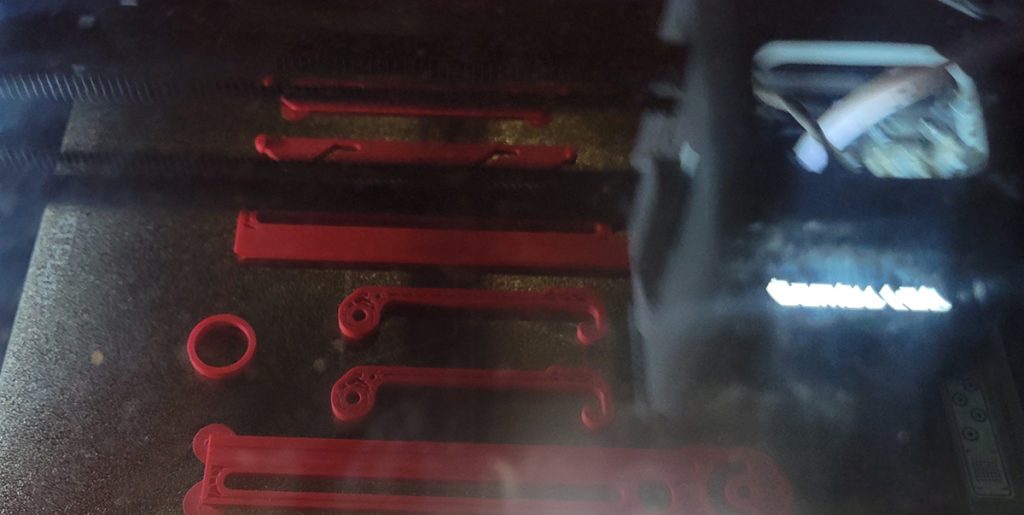
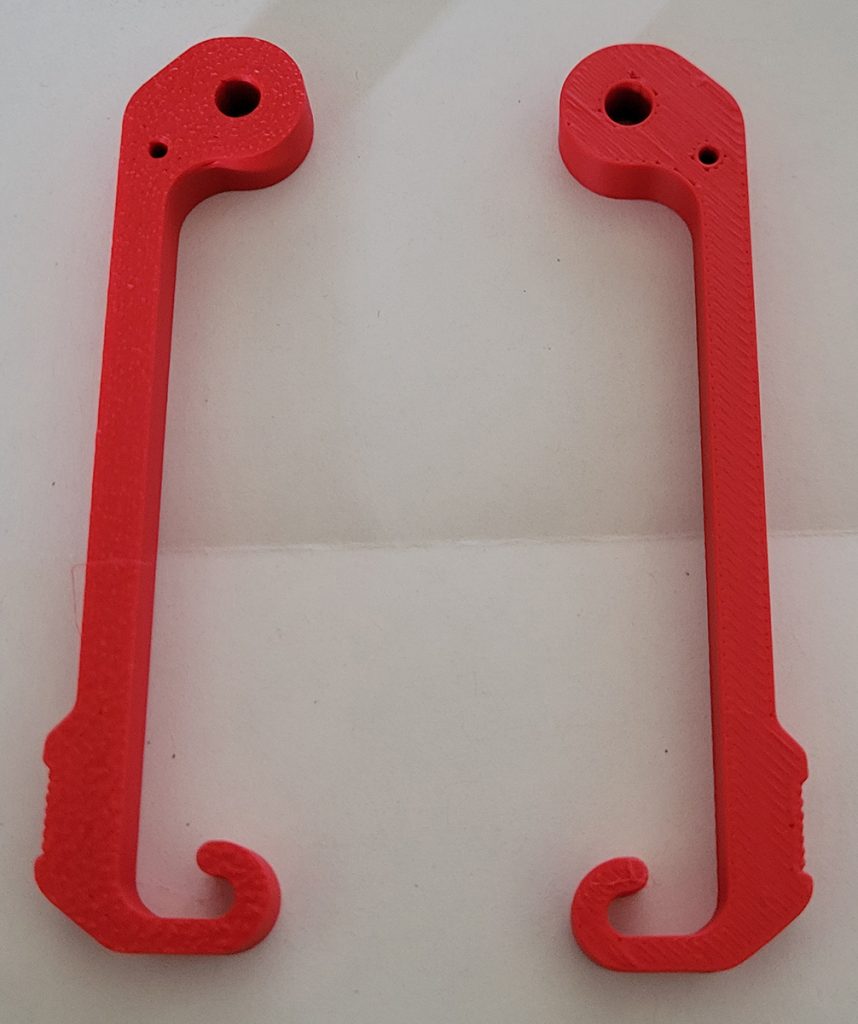
Hooks for the glass frame:
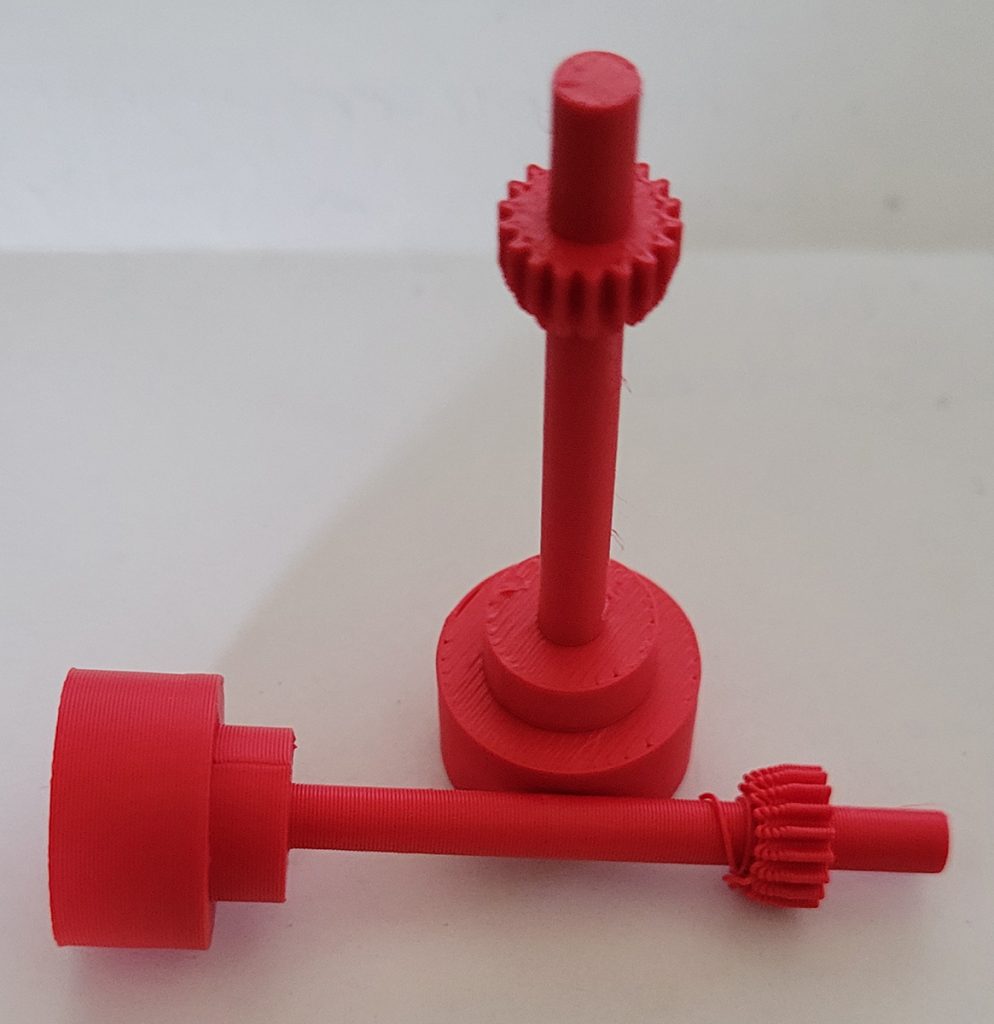
Knob, shaft and spurgear all in one:
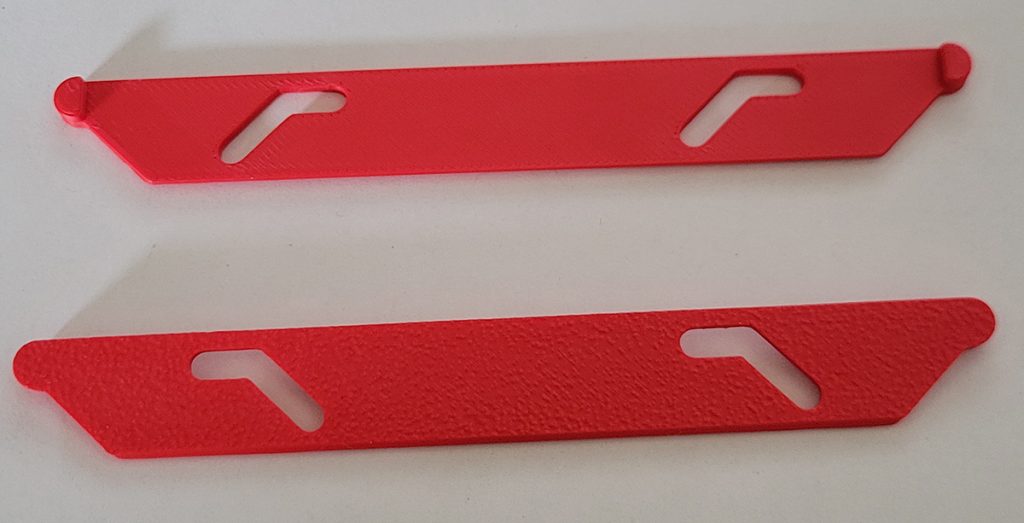
Lensboard latches:
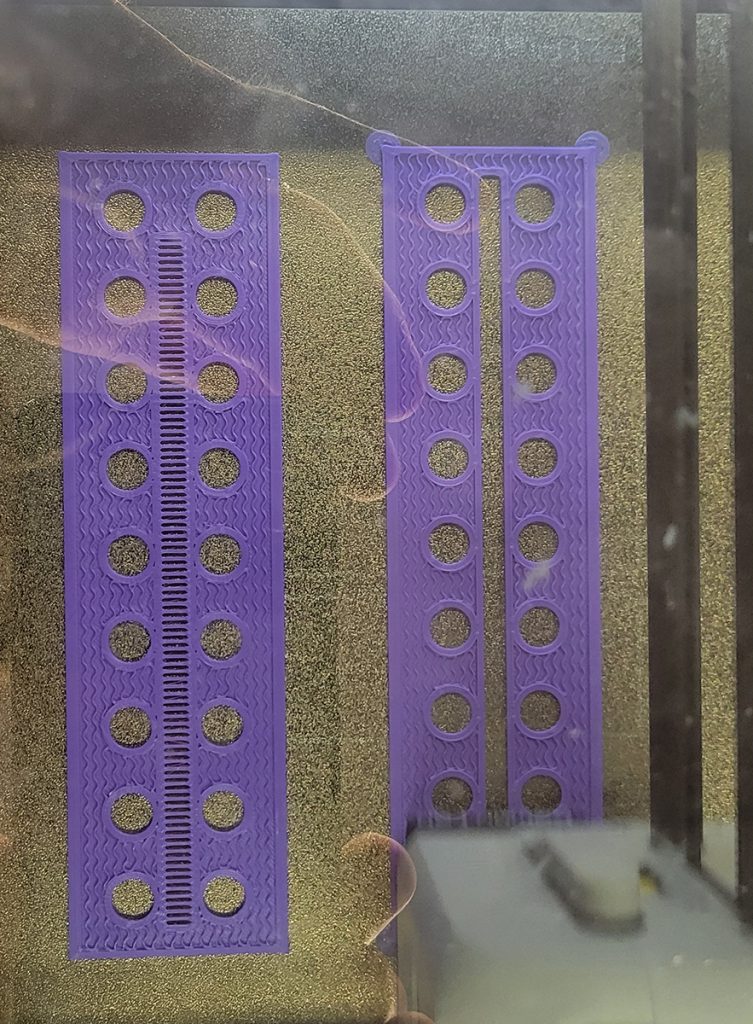
Rise rails with the countersink:
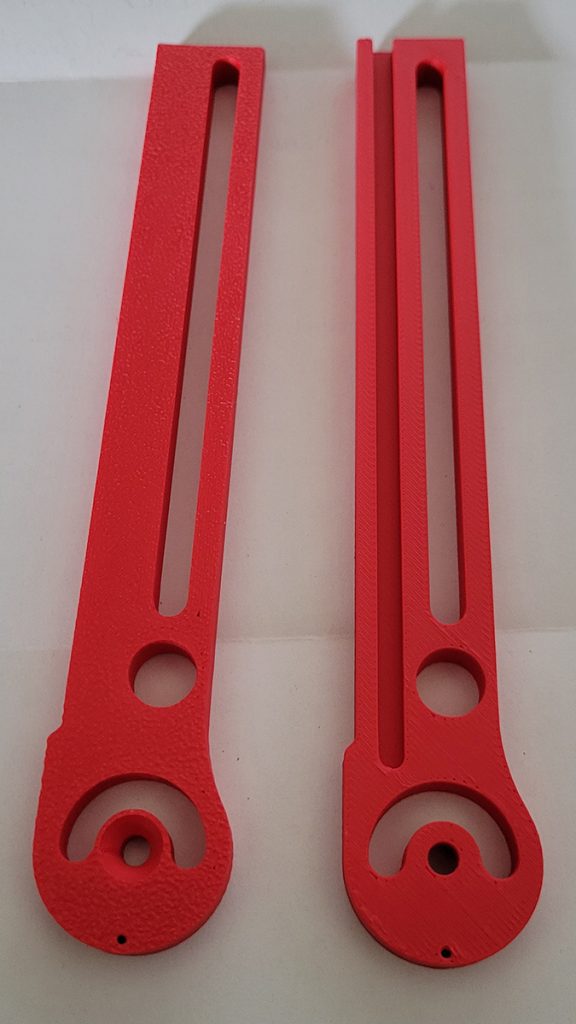
Focus rails:
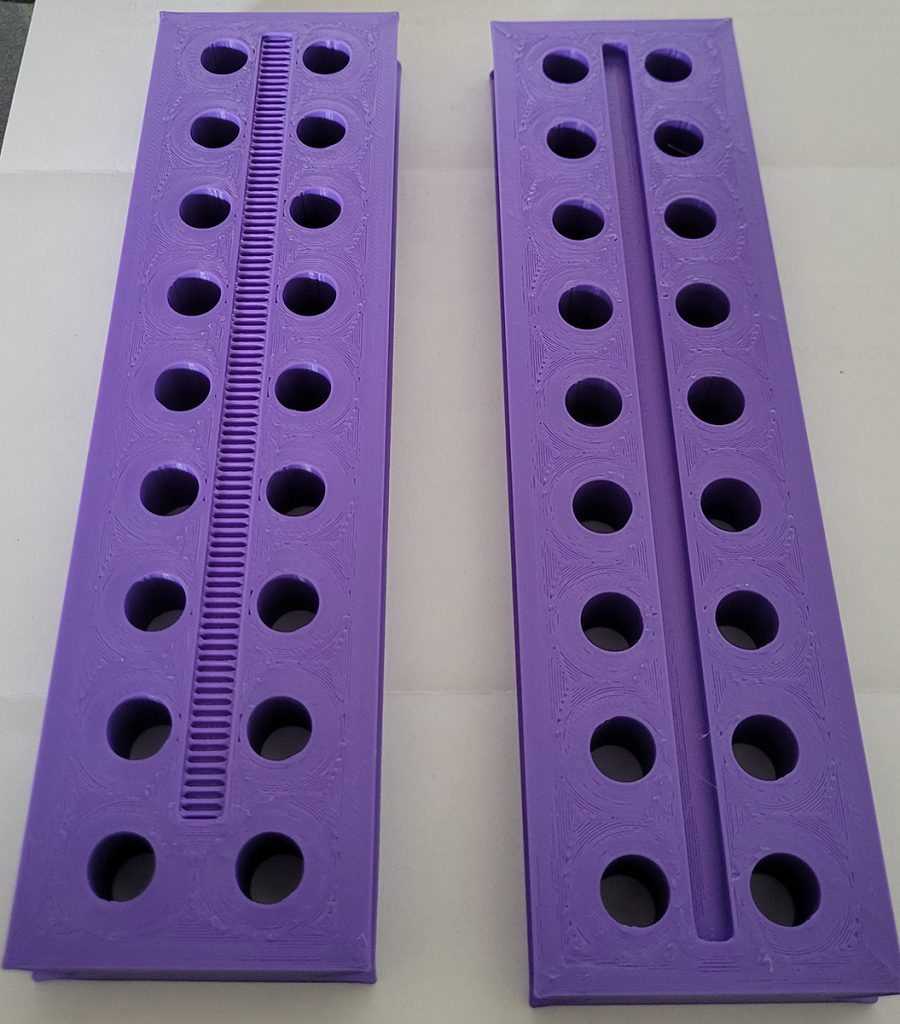
And I reprinted the glass frame on new settings:
So what were the results, well…
The lensboard latches looked good. They are a little thin, but I think that they may work still. The new rise fall rails are good, and look good; as do the hooks. The 8/32″ hole in them ended up being too small, but that is something that is easily fixed.
As for the other pieces there were some issues. The knob/shaft/gear didn’t print the gear very well. There was no support to start the gear so it fell apart, but then ended well. The person I am working with at the school suggested putting a tapper on the gear and allow the gear to build up at an angle. We are going to try that. The focus rails were ok. The top surface wasn’t great and I earned about “ironing”, and will try that next time. Also, the gear needs to be placed on the upper side to print correctly also. I printed the two rails on opposite sides to see what would happen with the gears. Also, the corners were “bulging” just slightly, and that was due to the speed the head moves at. After talking to my dad about that he is going to put a radius on the corners to eliminate that – Great solution! And finally the glass frame. Overall it looked ok, but the slope still didn’t print right at all, in fact it was worse this time. I didn’t do support on it at all and I tried a smaller wall thickness, but it still sagged and got goopy. So, that is a no go. Talking to my dad about that, there are a few ideas that are being thought about on how to do that section differently. Those ears aren’t needed to be like that so a modification can be made to maybe take care of that.
So, learning, learning learning. This is fun. I need to learn the actual drawing side of things still, but that will come as well over time.