It has been a couple weeks since I updated the progress on the 3D printing of the camera. I have printed many more parts and I have started assembling parts together.
I’ll start with the prints. First we have the front standard base pieces. They look good, and now I just need to tap the holes, get the screws and put it together:
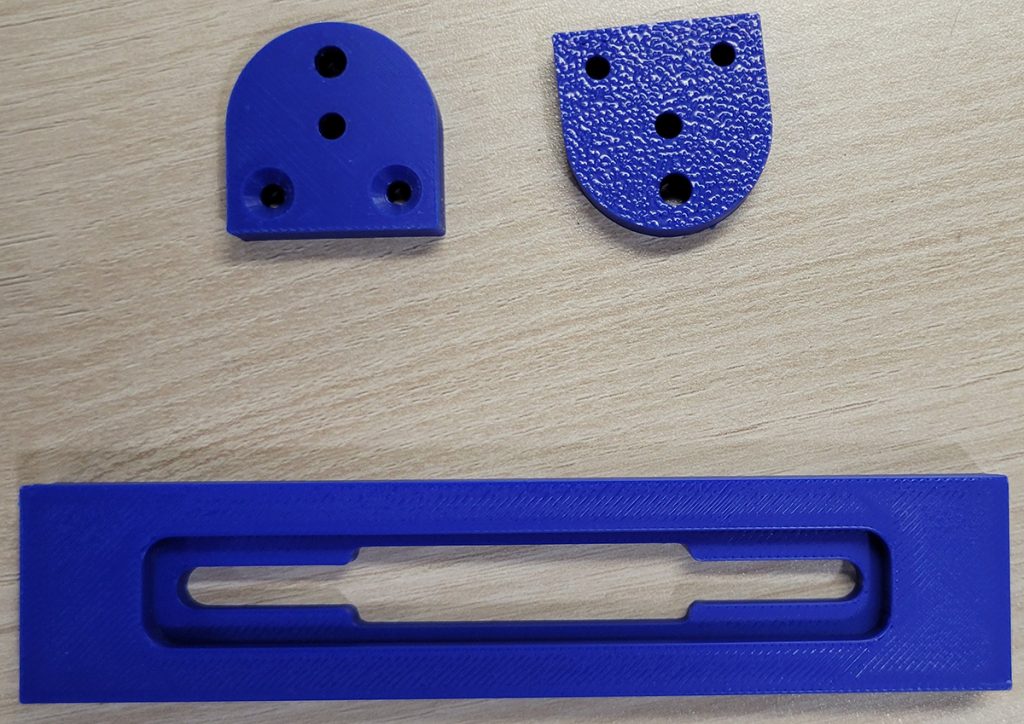
Next we have a couple of glass clips. These will be used to hold the glass in the back of the camera. Slight resign from the orginals since they won’t have have the angled metal to create a spring system:

Here we have one of the swing plate parts again. We needed to increase the size of the through holes so that the screws could easily pass through to the connecting part. Just need to get screws to put these together:

Here we have 2 printed screws. These will be used for the swing itself (hopefully). These have a printed 10-32 thread on them. They came out really nice looking. I will be interested to see how they perform once put together:
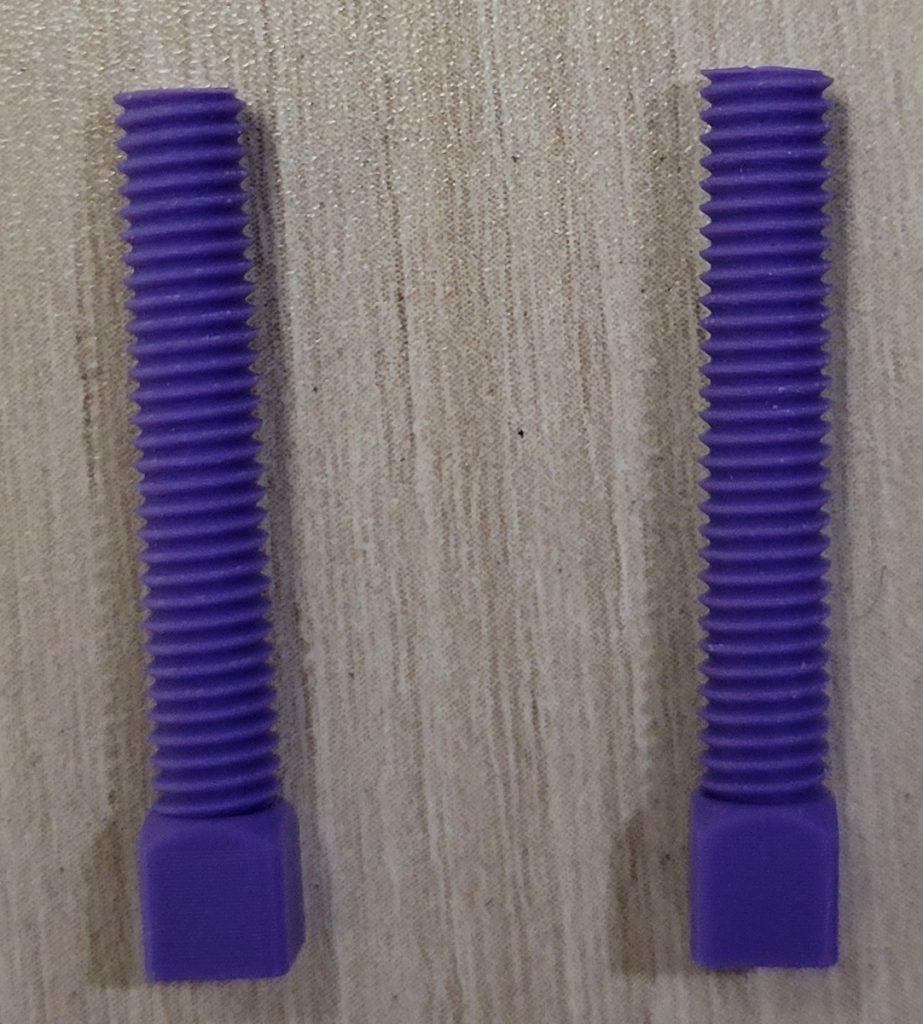
Here we have more swing parts, and the smaller part shown will have that 10-32 thread for the above screws to go into:

New lock levers. We have to increase the size of the square hole to accommodate the printed threaded pins (like you saw above):

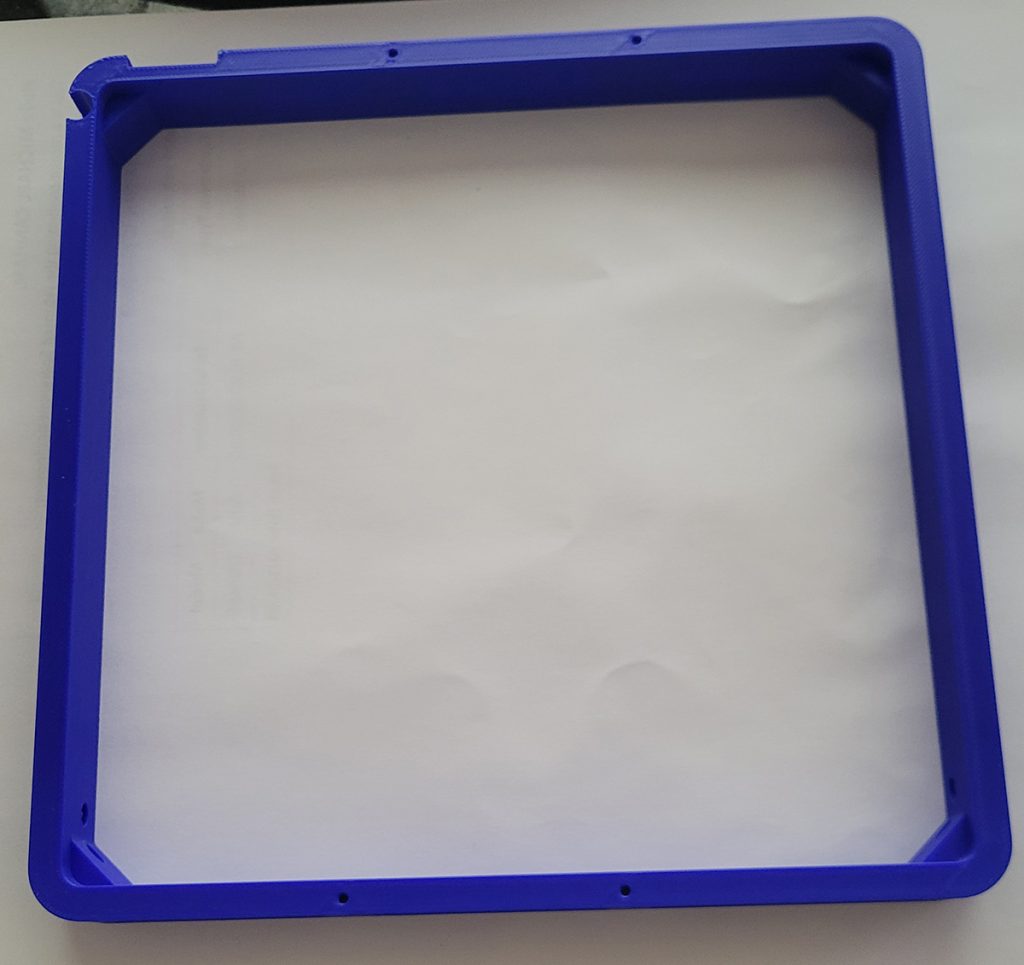
Here we have a rear standard. This one also came out really well on the first time printing.
Now for a couple pictures of assembled parts. Below you see the rear standard base (along with some pins and levers (old ones with too small square holes)) and you see the beginning of an assembled bed:


Both went together well. We learned that the bed needed a bit more work for gear clearance.
So, what have I learned recently. Well. I broke one of the plastic geared pins by putting a screw that was too long into it while trying to assemble the bed. That was all on me. I should have known better. I have been having the printers do an “Ironing” on the top layers of the parts recently. It is supposed to make the top surface smooth. I have decided that I don’t like it. It often leaves the surface uneven looking. It is smoother that a textured top layer, but it isn’t consistent enough for me to like it. For the screw parts I have needed to use a smooth, cool plate becuase that has allowed them to “stick” better to the plate. The first few times I tried printing them one, or more, had fallen over during the printing and I had to start over. Another one is tapping holes. The larger holes haven’t been an issue, but the 4-40 holes have been. My dad has been creating them correctly, but they are so small that getting a tap down them is hard, and I usually end up hogging out the hole a bunch and then there are no threads in it. That may be due to the fact that I don’t own a small electric screwdriver. I only have my large DeWalt drill. So I have been trying to tap them by hand. My dad and I have both read that I may just have to run the screw itself into the material to get it to work if I have going to do it by hand. Or I need to look into an electric screwdriver and see if that works better.
Finally, I recorded a short video of a bed being printed:
This was the latest one, and it ended up failing in an area when I hadn’t had issues before. I have had a lot of issues with the RED colored PLA so I am going to make sure not to use that ever again. Not sure why, but there is something slightly different about it that causes the parts to just not turn out that good.