I recently mentioned that I was going to venture into starting a business printing large format cameras and most likely selling film at some point. Well the first steps have been taken and here is where we are at.
I ordered a lot of stuff to start things up. My father and I went through all the bolts, inserts, set screws, levels, washers, and such that I would need to assemble a camera. I think ordered all that stuff from McMaster Carr. I also needed a printer, well after talking with my wife we agreed to buy 2 Bambu Labs P1S printers during there recent sale. Part of the agreement was that I wouldn’t open the second printer until I have sold at least 3-4 cameras to justify the cost of the second printer, and if that doesn’t happen then an unopened printer is probably worth more than a slightly used open printer. I also ordered a range of spare parts and extra nozzles from Bambu Labs at the same time. Then I ordered stuff from Amazon as well like filament and tools for assembling the cameras.
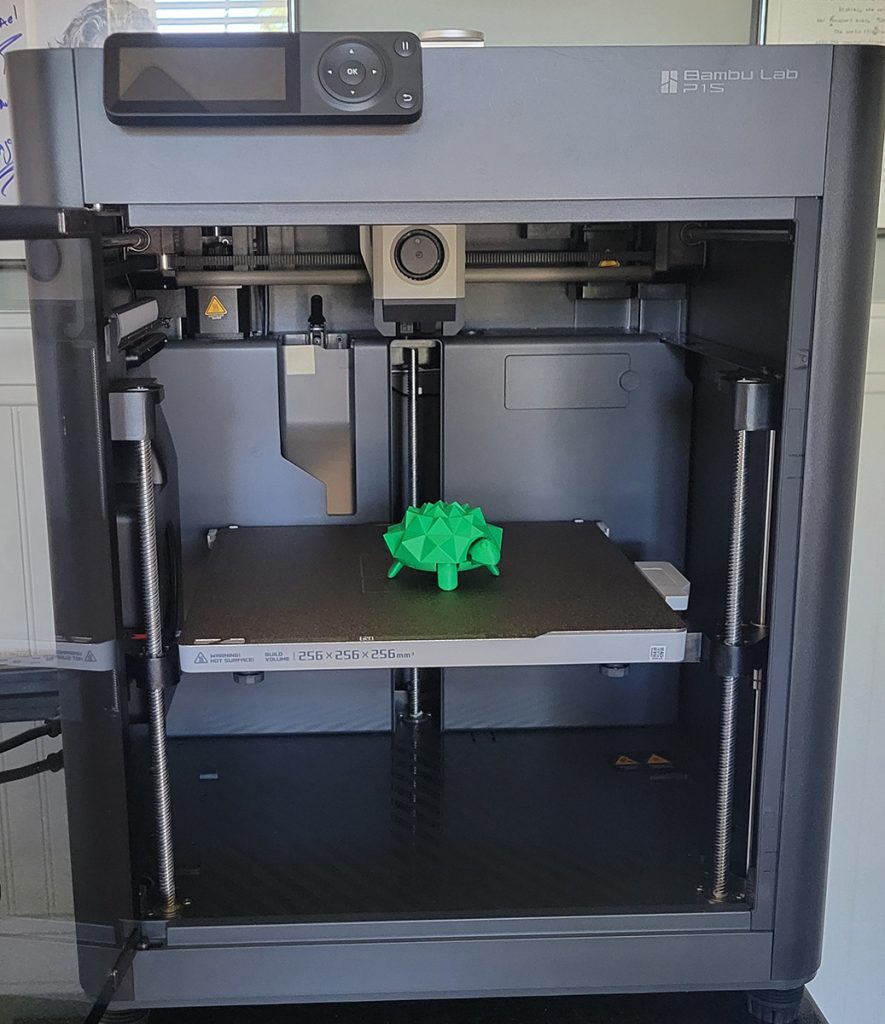
Well the printers showed up after a day extra of wondering where they were. I was pretty concerned since FedEx said they were out for delivery, but in reality they were sitting at Fed Ex since I had been out of town. Apparently I selected an end date for Fed Ex to hold my packages 1 day later than I should have and so FedEx was holding them one more day than I expected. But they showed up. Regretfully I didn’t get it opened that day. My house was having all its windows replaced that day so things were a bit crazy (a post on that will be coming soon as well). So, the next day I got the printer open. I set it up in my home office area and that is where it will be for a few days at least. I went through the setup process on the printer. I ran into an issue getting it to pair with my phone and therefore getting it registered in my bambu labs account, but I decided I would take care of that later. The printer comes with a partial roll of green PLA so one can test out the printer. I let “G” decide what pre-loaded thing she wanted printed. She picked the “Squishy Turtle”. So, I printed it, and it went fine. Here is that print:
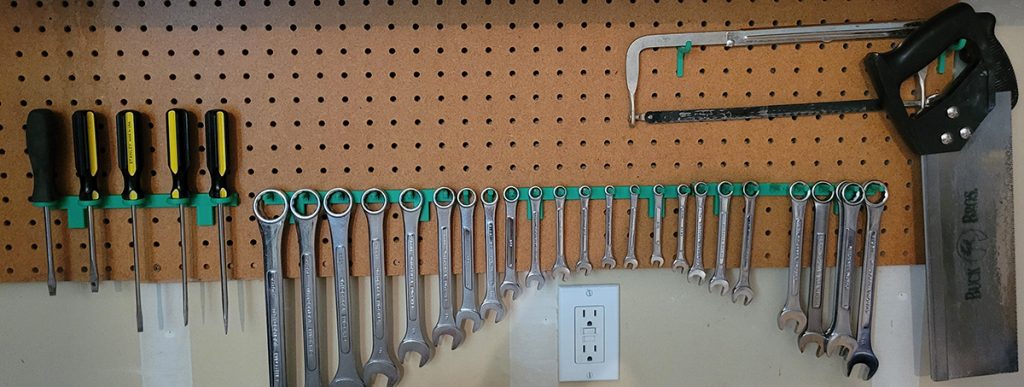
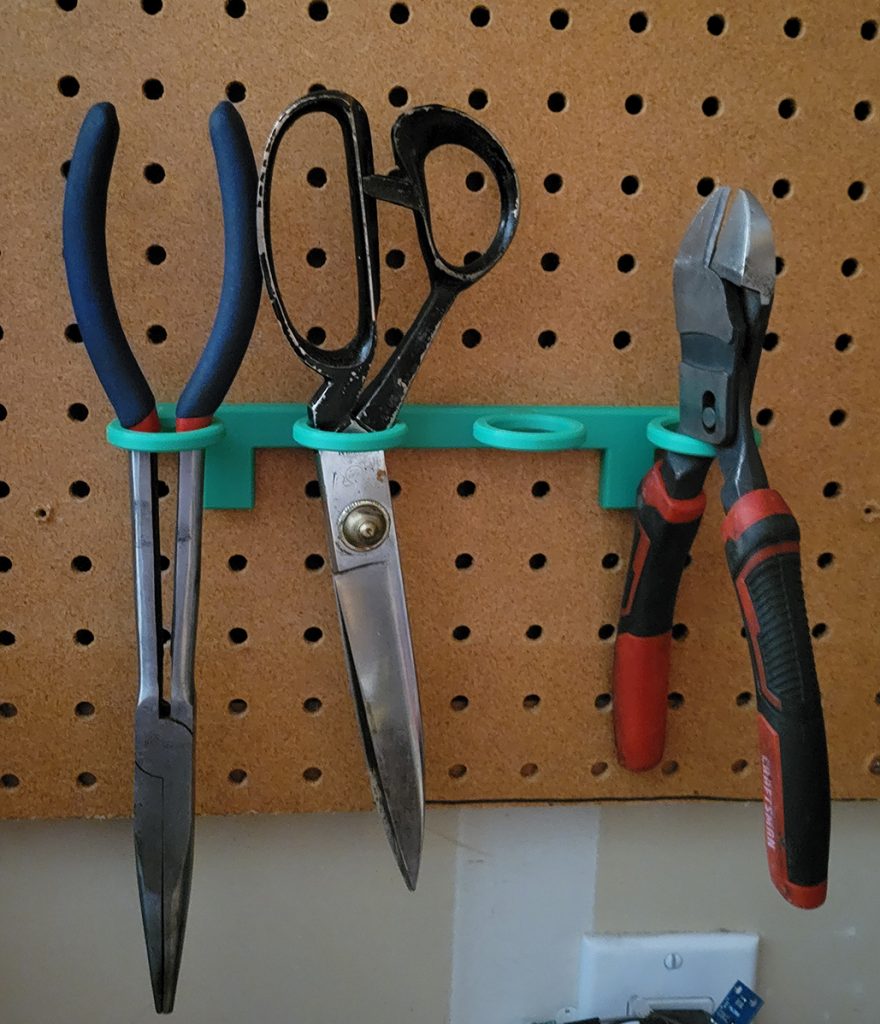
Then I decided to try printing a few other things. I found some peg board hangers for tools. I have peg boards in my garage, but no hangers. So, I thought, “Let’s give it a try.” And they printed really well. Here they are installed in the garage:

I used most of the green PLA and so I couldn’t get all the peg board hangers I wanted, but I will get them printed eventually.
The other thing I did related to a thing my wife has. She was given a distillation tube by my father years ago. It belonged to my grandfather. The thing was that there was no way to display it due to it shape. So, I got into a CAD program and designed a stand for it, and here it is:
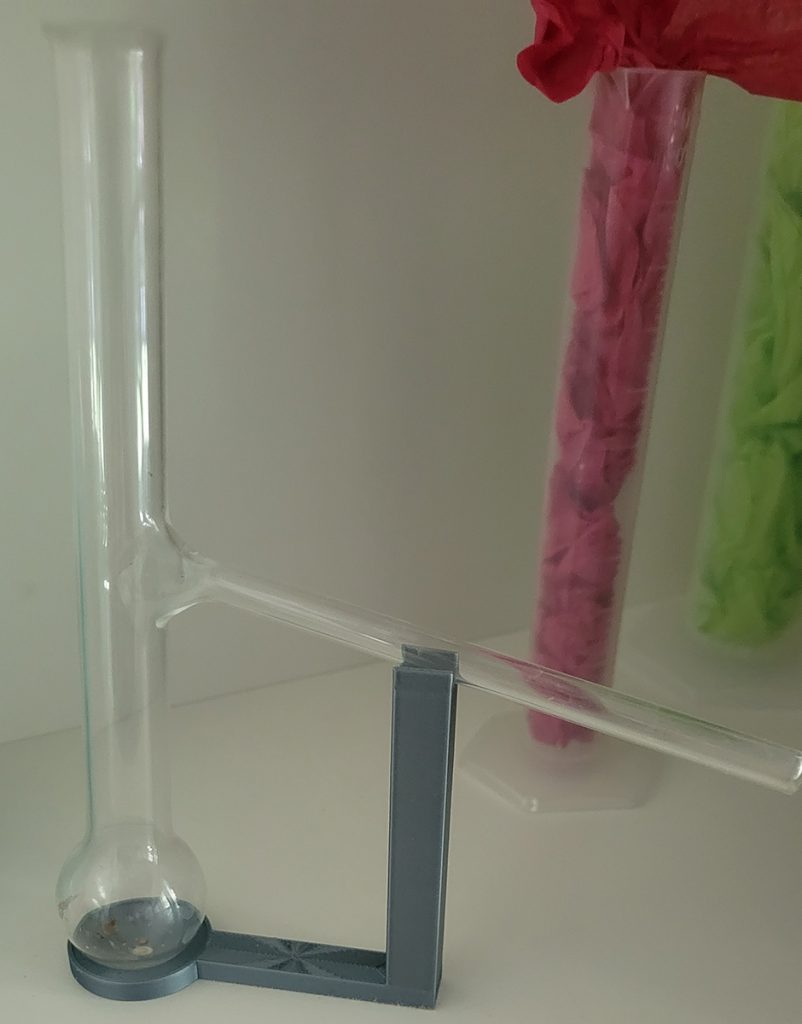
This was done in a PLA silk material that my girls were given on Friday at BSU. They found a large knotted up mess of PLA at the maker space at BSU in their scrap bin while I was getting something printed there (it is a phone case in TPU and I didn’t want to purchase an entire TPU roll just for one phone case), and I told them to ask if they could have it. The people there said they could have it sine they were getting rid of it. So they brought it home, and were able to untangle enough of it so I could print it out. I like it. It isn’t perfect though, I made part of the base with the wrong slope to hold the curved base, but it works well enough. I did go back and redesign it some and maybe I will reprint it someday if we unknot some more of the material, it certainly doesn’t take much material.
This whole time I was waiting for the PETG filament to arrive from Amazon. The first shipment has been lost (at least I think it has), and I have to re-order everything. Thankfully still during the Prime Day sale. But the filament was still many days out. Then Amazon alerted me that I could order just the filament (again) and get it the next day. So, I decided to order it again, and it showed up the next day.
The day prior I worked on downloading all the part STL files and then I started getting all the build plates designed to print the parts. That took a while. I had some hick-ups, like I wanted to print the front and rear standards at the same time, but I can’t have the two object on the same build plate since they are too close to each other and the rear standard wraps around the other and so there is a chance of the print head running into one part while printing the other. So, the 4 parts I was hoping to print on just 2 build plates will have to be on 4 build plates for the moment. I plan to see if I can at least get the smaller front standard and front bellows frame onto another build plate with smaller parts in the future.
After all of that it, I added up the time the program says it will take just to print all the parts, and the answer is: 32.9 hours. Yep, almost a day and a half of just printing, and that doesn’t include the time between prints to transition. So, my thought that it will take a week per camera is certainly true. I am glad my dad’s friend, Glen, suggested 2 printers vs just one higher end printer. If this does turn into something I can cut the time in, not quite, half by using two printers eventually (and it things really take off I will need more printers).
Now that I had the filament I started printing camera parts. So, here is a picture of all the printed camera parts for 1 camera:
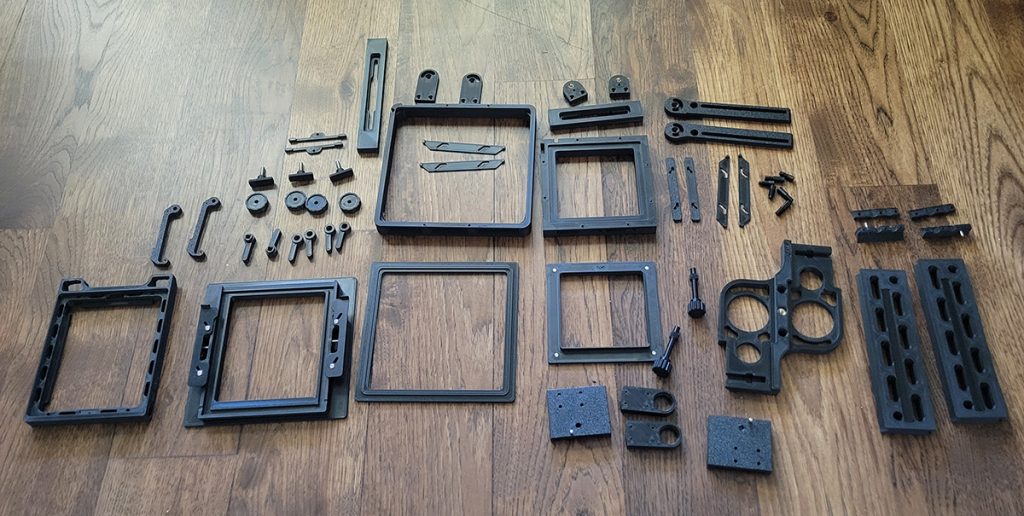
The finish on the top of the latches I wasn’t 100% happy with. I think I need to slow down the top layer, or try a different top pattern. The screws look really good. I will be interested to see how they fit into there mating part on the camera. The bed looks good, except the lettering for the name “GEC”. That is an easy thing to look into. The knob and levers came out well. The rise and fall rails look good. The front bellows frame came out nice. The rear standard has a few interested spots on it. I think it has to do with the layering I did. I may try changing it and running another one at some point, but it will work for me. The focus rails were a challenge. They are the longest prints. The first iteration was 7hr and 30 min, but after the first layer they came apart on the build plate. So, I tried modifying the printing and it again came part on the first layer. I did a little online digging and didn’t find much right away. So, I thought I would try adding a brim around them to see what would happen, and that took care of the problem. So, that was a good learning experience.
Another thing that happened was that by the time I made it towards the end of the first roll of filament I started having issues with the prints. They started not sticking as well to the plate. They started getting “stringy” and rough. I cleaned the plate with soap and water and also IPA. But that didn’t help. After reading more on the internet I was wondering if the dryness of the filament was the issue. I didn’t dry the filament as suggested by Bambu initially. I didn’t because I had talked to a couple people and they said that they never had issues. So, I didn’t. Well, here in Idaho things are humid enough I guess to cause that issue. I switched to a new roll, and had a lot less issue (the glass frame still isn’t perfect, but it is much better). So, over the time from a Sunday morning to a Tuesday night the filament absorbed enough water to cause an issue. So, a learning lesson. I ordered a filament dryer and also containers to store the filament in that will hopefully keep them dryer. The joys of learning!
And now it is time to try putting the camera together. That will be a fun, and adventurous, time as well.